It is often better to use an accountant for filing a return – yes, we would say that – but genuinely we feel its true – however many people like to do it themselves.
This is our guide to the process if you are filing yourself.
Clearly tax is a complex area, so this is a simple summary based on a typical case study and provided without liability.
If you are using an accountant, including ourselves, this guide will give you some background as to how to best prepare your paperwork for them. And if you need an accountant, we would love to be your choice – see our Guide to Fees and Services.
Six Steps to Filing a Self Assessment Return
- Get your bookkeeping in order.
- Prepare a summary.
- Validate your data.
- Prepare a tax computation.
- Gather any other information you need.
- File your return.
1 – Get your bookkeeping in order
Like anything in life the foundations matter, and the tax return process is more stressful if your bookkeeping isn’t in order – a shoebox full of receipts and some half filled in class logs are difficult to convert to a tax return.
There are a number of ways you can approach bookkeeping, but if you are struggling then our excel based Bookkeeping Templates are a good place to start, but they are suggestive not definitive.
2 – Prepare a summary
However you’ve done your bookkeeping, you need a summary of income and expenses. If you use a software package then it will probably do this for you, and our excel based Bookkeeping Templates do as well.
Heres an example of a summary – we will follow this example through in this guide.
3. Validate your data
You need to check your bookkeeping has given you accurate information for tax. Here is a checklist:
- Is the income complete? This is where many Yoga Teachers fall foul.
- Are your expenses correct? Any missing? Anything included you can’t claim? See our Expenses Guide.
- Have you adjusted for things like Capital Allowances.
4. Prepare a tax computation
The tax computation takes the summary and the results of your validation, and converts them to figures for your Self Assessment.
Continuing our example above, Freda found the following when she validated her data:
- Miscellaneous income included a £125 tax refund.
- Computer costs include the purchase of a laptop – this is a capital item, and the treatment varies depending on whether she is on Cash Basis Accounting or Accruals Accounting.
- She hadn’t claimed anything for Car Costs. She estimates 1,000 business miles a year
- She needs to claim for using her study at home for lesson planning, administration, and occasional private classes
- As well as her laptop, she needs to claim Capital Allowances on a iPad bought for £600. She estimates both have 50% business use
Here is Freda’s tax computation
5. Gather any other information you need
Your Self Assessment needs to include all sources of taxable income, including, not exclusively:
- Income from other Self Employments – if they are similar to Yoga you could treat them all as one, else they will need to be reported separately (another summary as above will be needed).
- Income from Employments – you will need the P60 showing pay, tax deducted, employers name and tax reference. Each employment needs to be entered separately.
- Income from Savings, eg interest and dividends.
- Income from Rents – if you have a number of properties or a lot of expenses, then a summary and computation similar to the example at 2 and 4 would be useful.
- Capital Gains.
6. File your return – the screen shots below from HMRC web site are 2015-16 but current year should be broadly similar.
It is important to note if you are in Making Tax Digital for Income Tax then your return cannot be field via HMRC web site, it has to be submitted via software, either yours or your accountants.
You need to be registered for Self Assessment, so if you are not, thats your first task – see Registering with HMRC
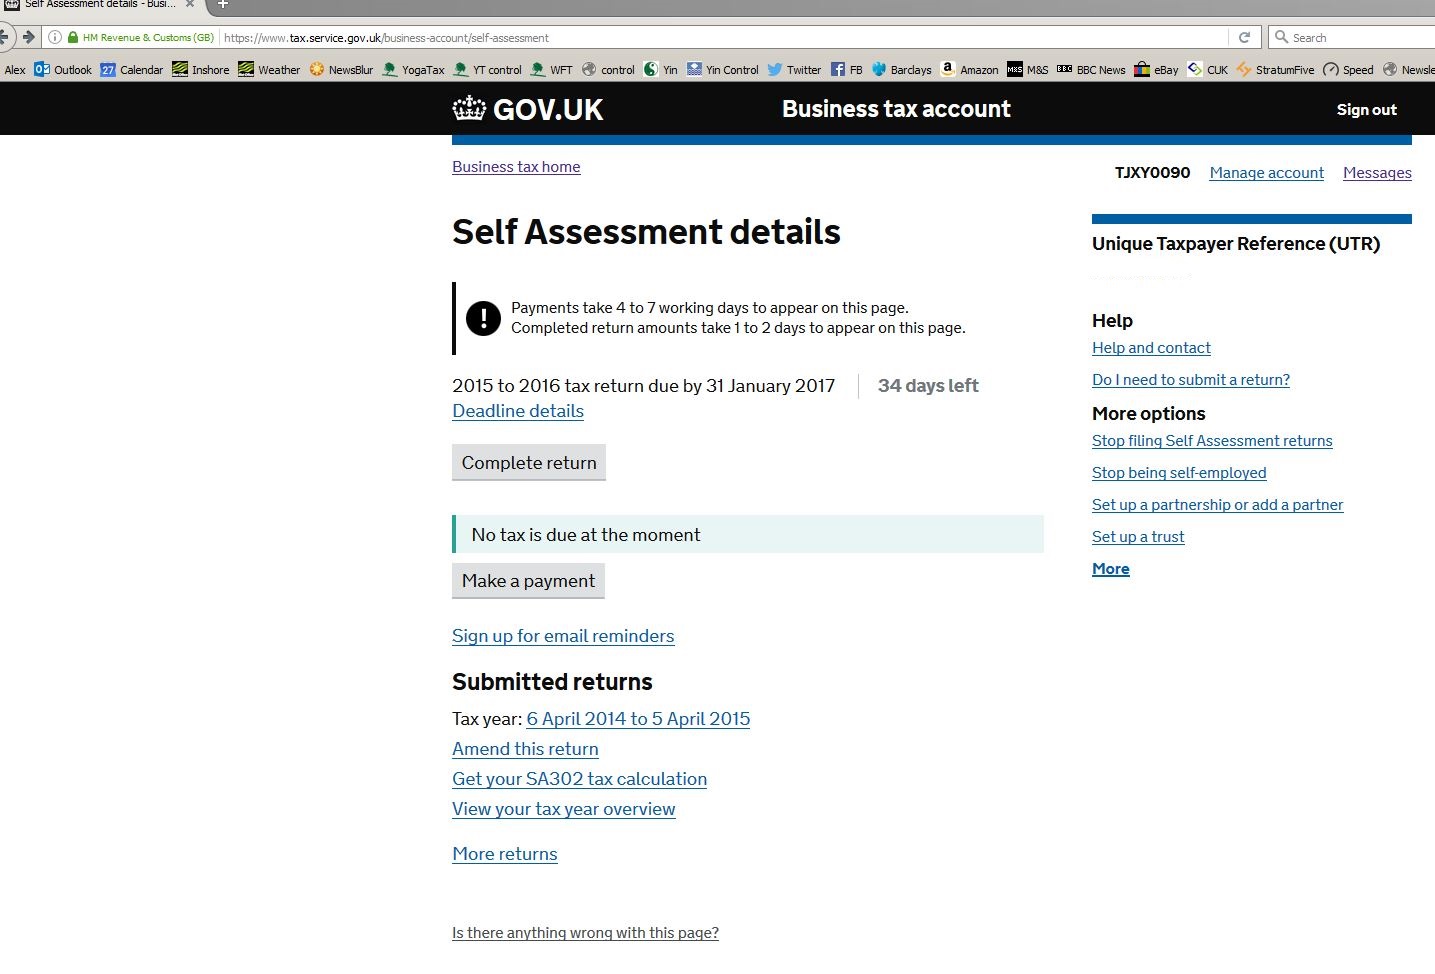
Step 1 – login – the current login URL is “https://www.tax.service.gov.uk” – if you struggle to find this, google map help, but make sure you don’t select a paid service by mistake.
Select “Self Assessment”

Step 2 – select “complete return” – in this case 15-16
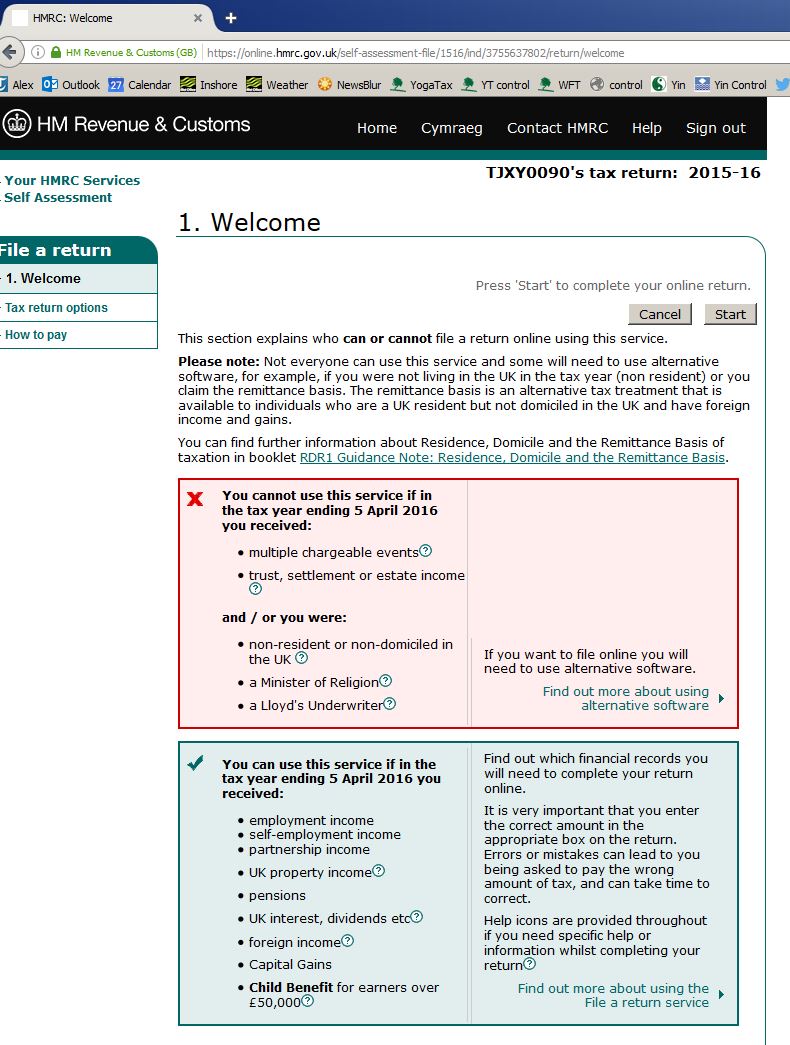
Step 3 – this page should be self explanatory, skip through it, and you will come to a page (not reproduced here for security) to check and update your personal details – complete it and move on.
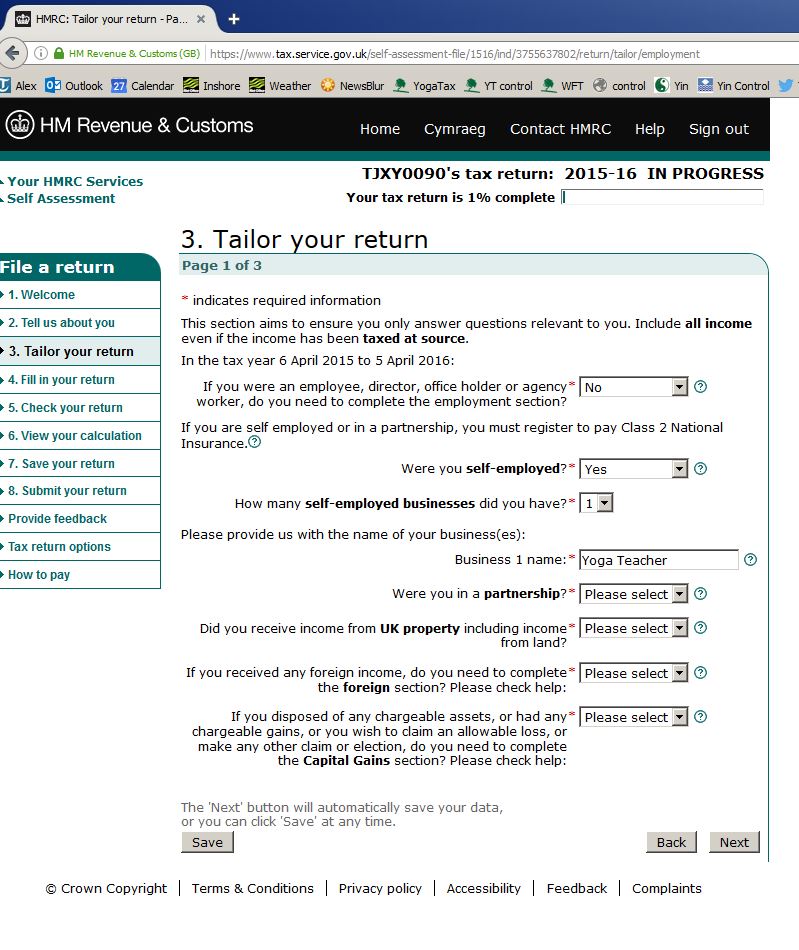
Step 4 – tailor your return part 1 of 3 – the first two entries are likely to be the important ones, as these are where you indicate the numbers of employments and numbers of businesses you have. Also select anything else thats relevant to you
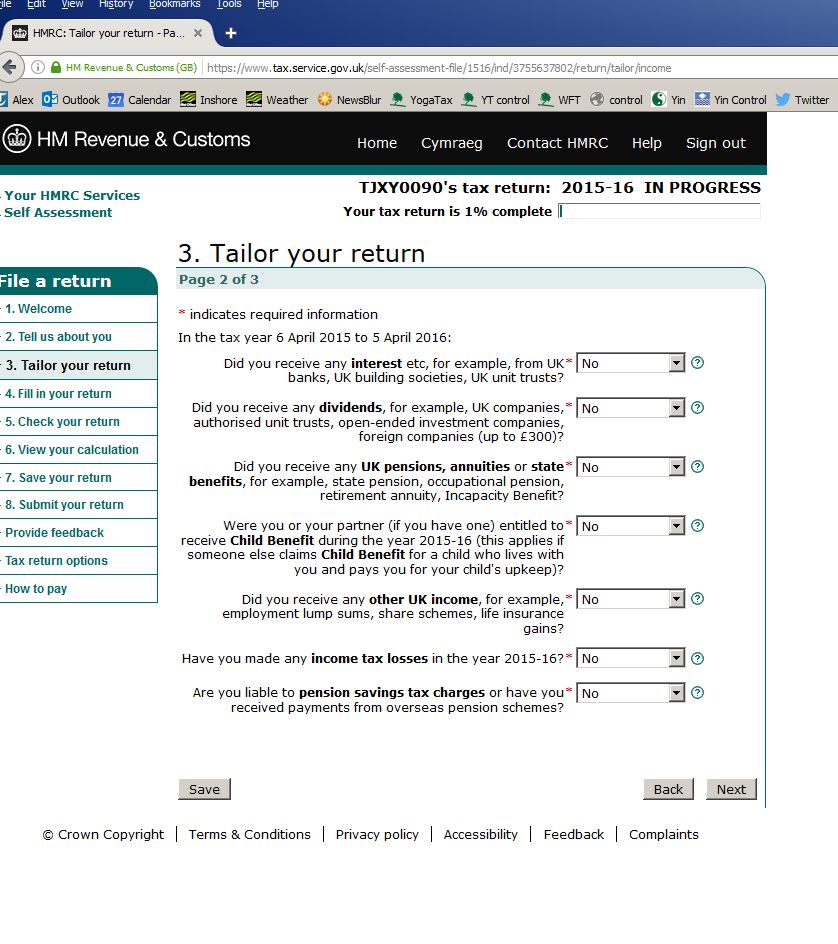
Step 5 – tailor your return part 2 of 3 – select anything thats relevant here
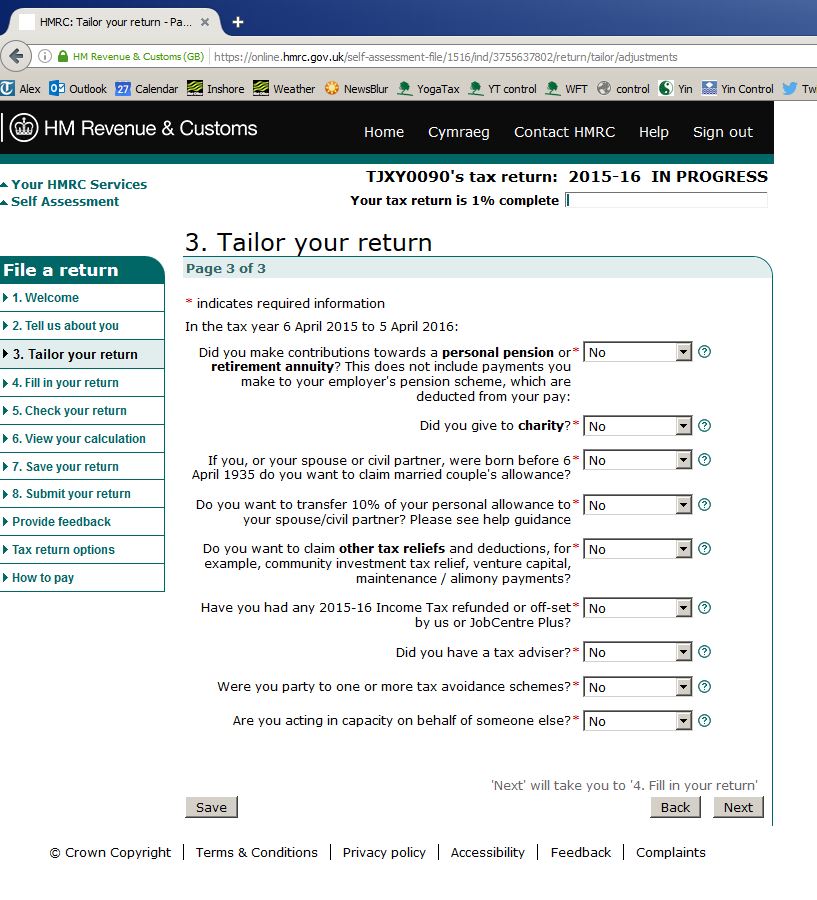
Step 6 – tailor your return part 3 of 3 – select anything thats relevant here
Step 7 – the tailoring your return section will indicate what you need to complete on your return, and these sections will be shown here

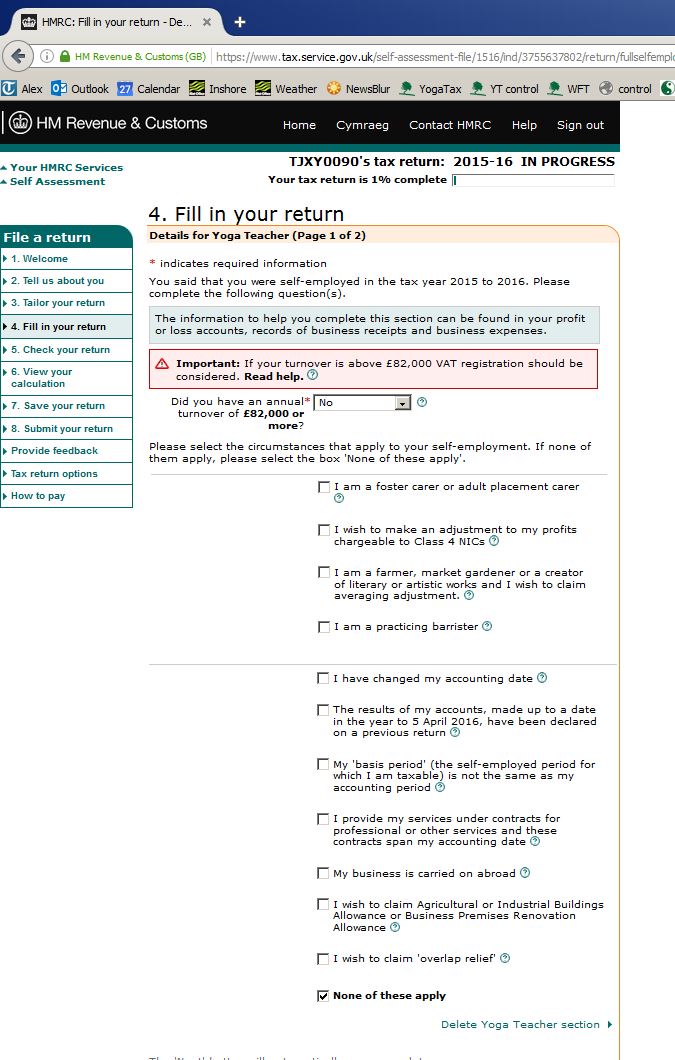
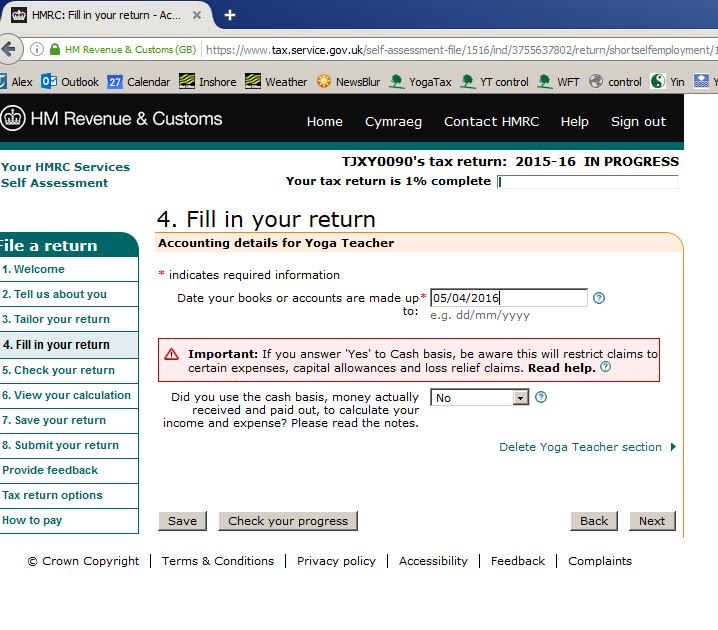
Step 8 – the first page for Self Employment – in most cases the answers will be “no” to the questions asked, assuming you have a 5 April or 31 March business year end, and this has not been changed recently.
Step 9 – self explanatory details – if you don’t have a name for your business, just enter “yoga teacher” or your own name – its not of significance.
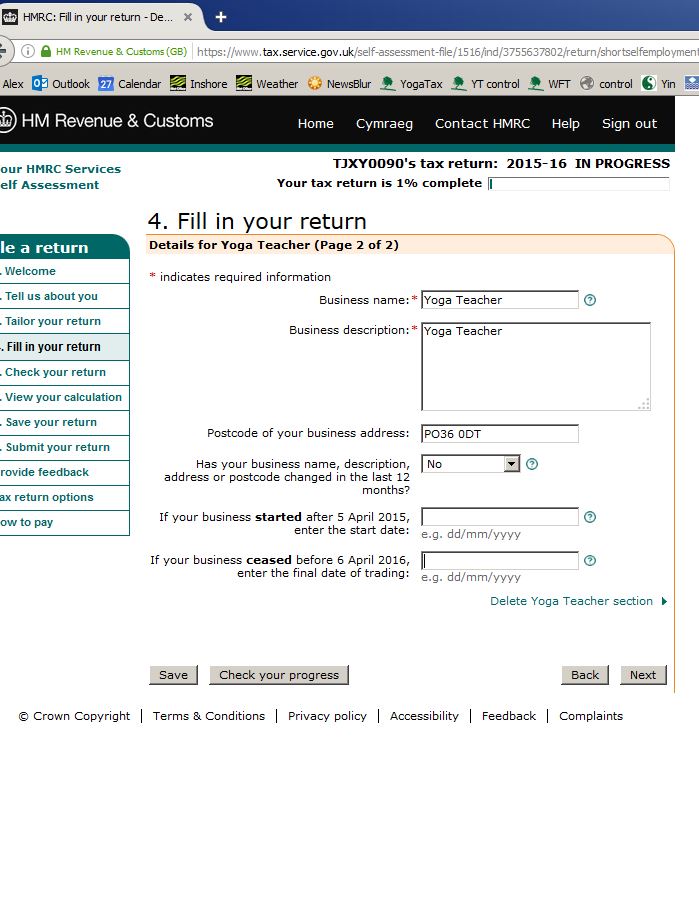
Step 10 – enter your year end – normally either 5 April or 31 March (you can use either, which ever is easiest, so long as you are consistent the odd week doesn’t matter).
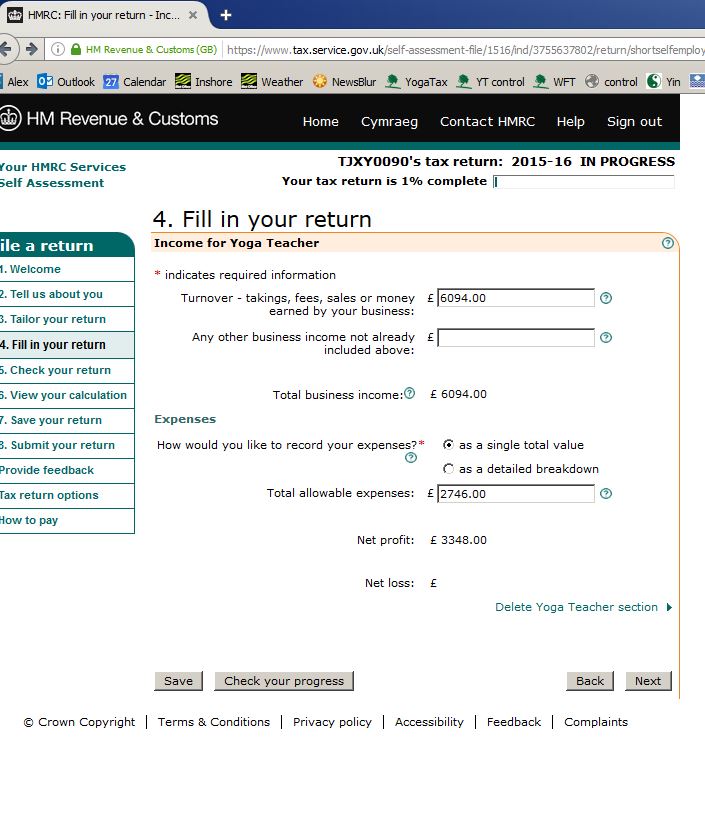
Step 11- Enter your turnover which is the income figure from your summary.
Also either enter your expenses as a total, or select to enter them as a breakdown on the next page. If your business turnover is over £15,000 then you will have to break them down rather than enter a total. For illustrative purposes we’ve shown them being broken down.
If you’ve entered expenses as a total, check the total expenses matches your summary, and the profit matches the pre Capital Allowance figure from your summary
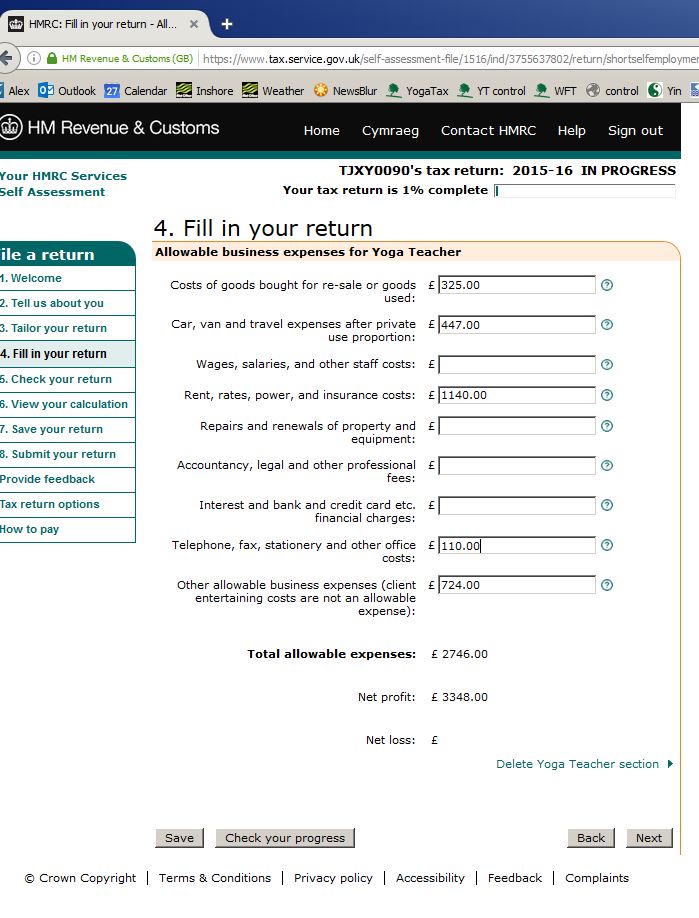
Step 12 – Enter detailed expenses. Getting everything in the right box is desirable, but not essential – its best to enter what you can and then put a balancing figure in the “other expenses” row.
Check the total expenses matches your summary, and the profit matches the pre Capital Allowance figure from your summary.
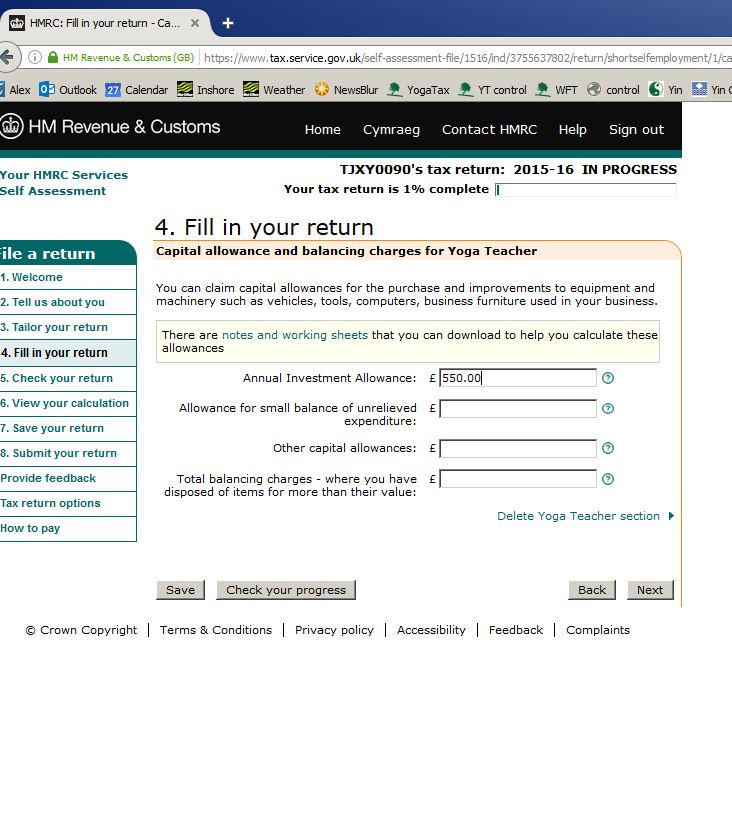
Step 13 – Enter your Capital Allowances – normally this will be under “Annual Investment Allowance” unless your expenditure on equipment is over the AIA threshold which is over £200,000 (and you probably need help with your return if that figure is relevant).
Any allowances for a car goes into “other capital allowances” – but there are quite complex rules on claiming Capital Allowances for a car, with the allowance being a proportion of the unrelieved value of the car, linked to emissions level, and reduced for private use. You will either have to pick through the rules, seek help, or use the mileage allowance basis which is much simpler – see Car Costs.
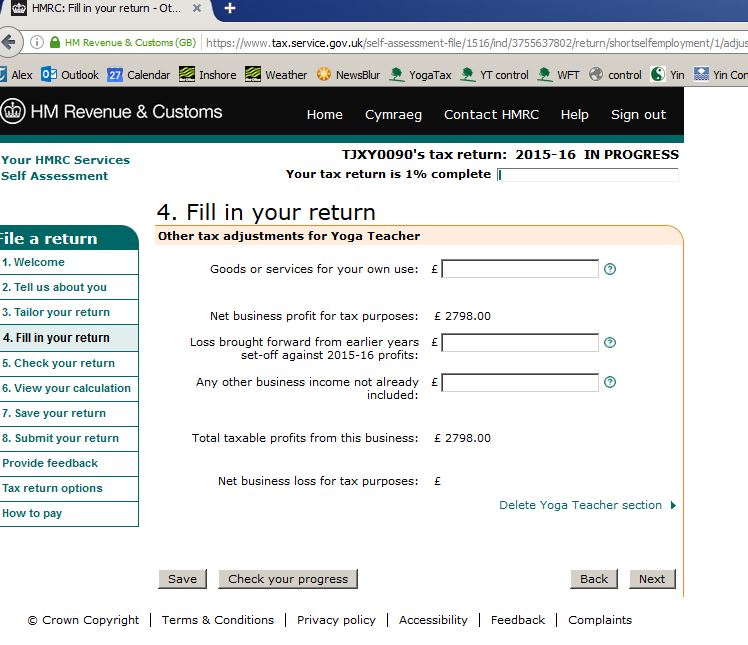
Step 14- Goods or services for own use is likely to be nil, and the subtotal should agree to your post Capital Allowance taxable figure from your summary.
Enter any loss brought forward from the same business here (check your tax records for last year).
The other business income entry would normally be nil as everything is included on the proceeding pages.
Step 15 – If you have made a loss, here are the options for offsetting it – you will need to research this or take advice, however with in many cases if you teach part time with a full or part time job on which you pay tax, then an offset to other income is sensible. If you don’t have other sources of taxable income in excess of your Personal Allowance (£10,600 for 15-16) then take advice to avoid wasting losses.

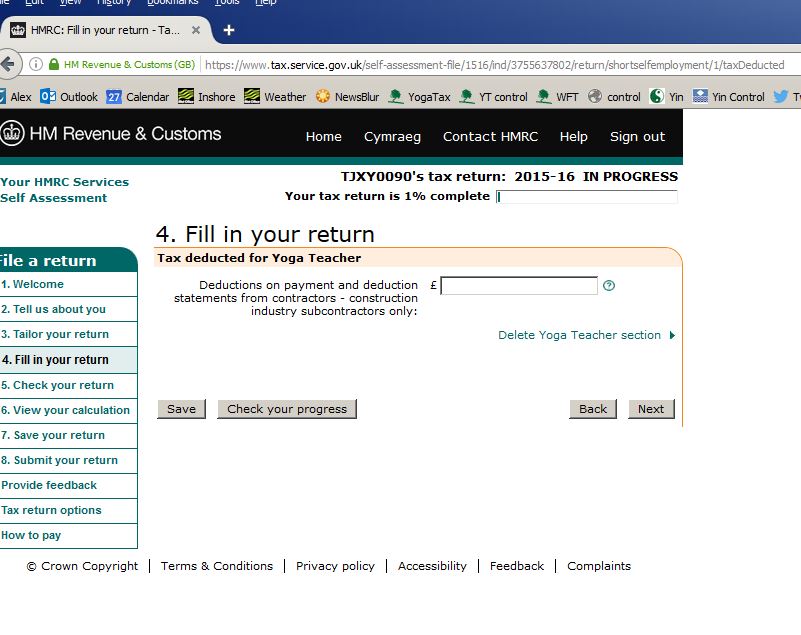
Step 16 – this will normally be nil
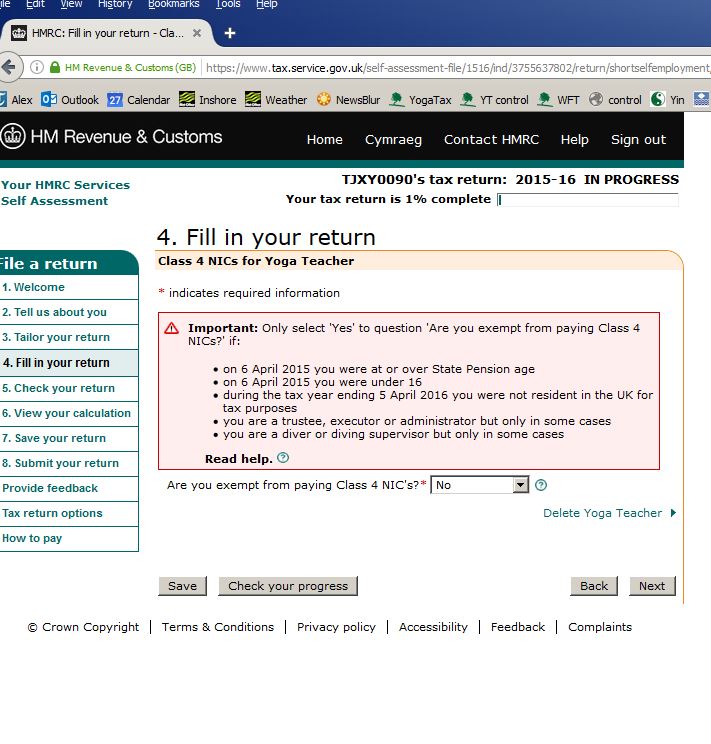
Step 17 – normally this will be yes – in most cases you will only be exempt from Class 4 NIC if you are over state pension age.
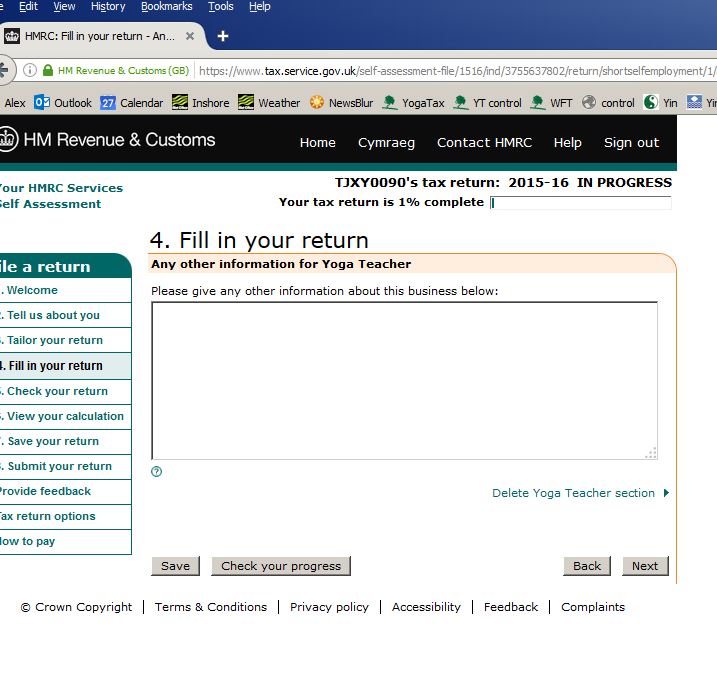
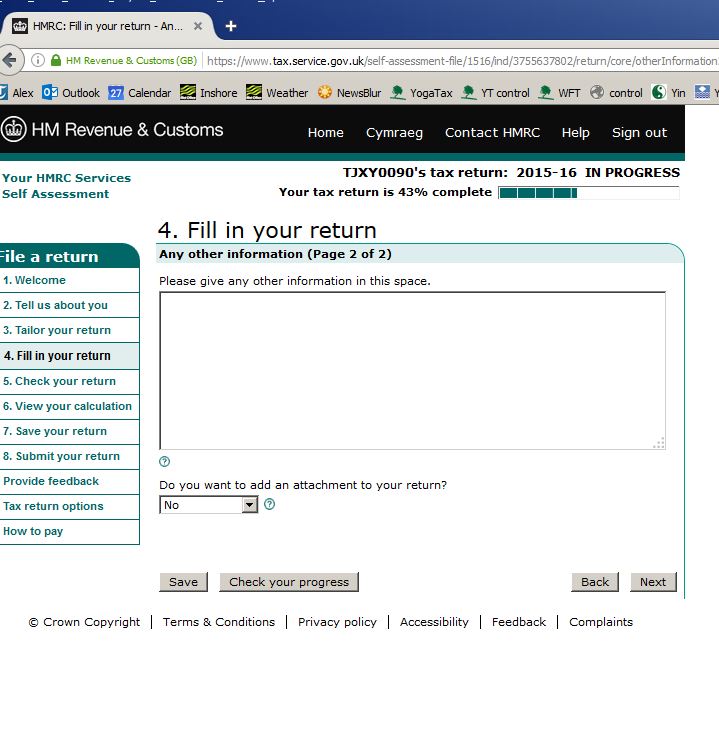
Step 18 – enter any notes or other information you wish to give, so called “whitespace”
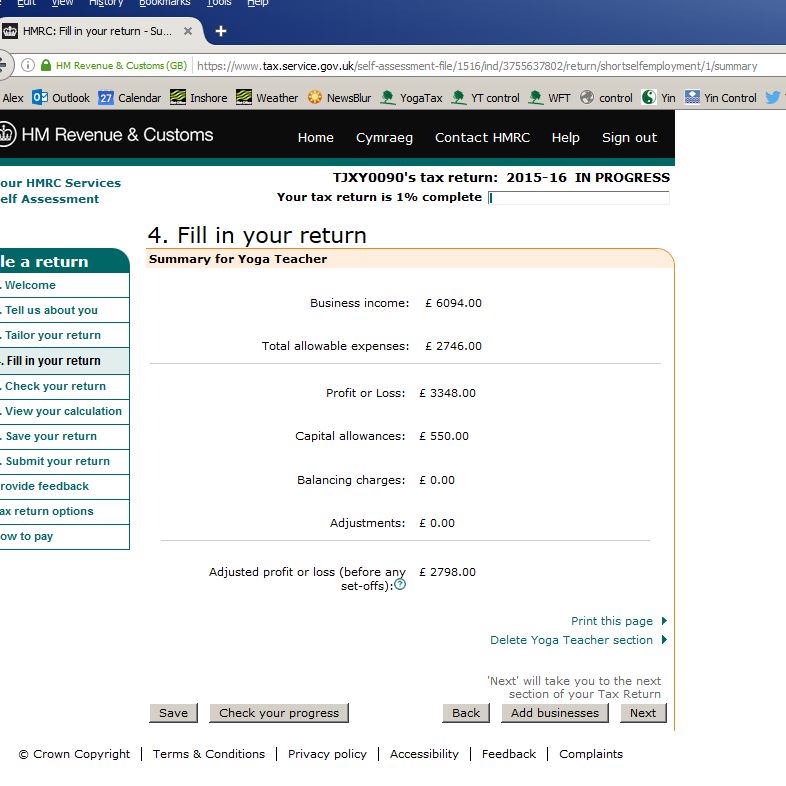
Step 19 – check this summary agrees to your summary sheet.
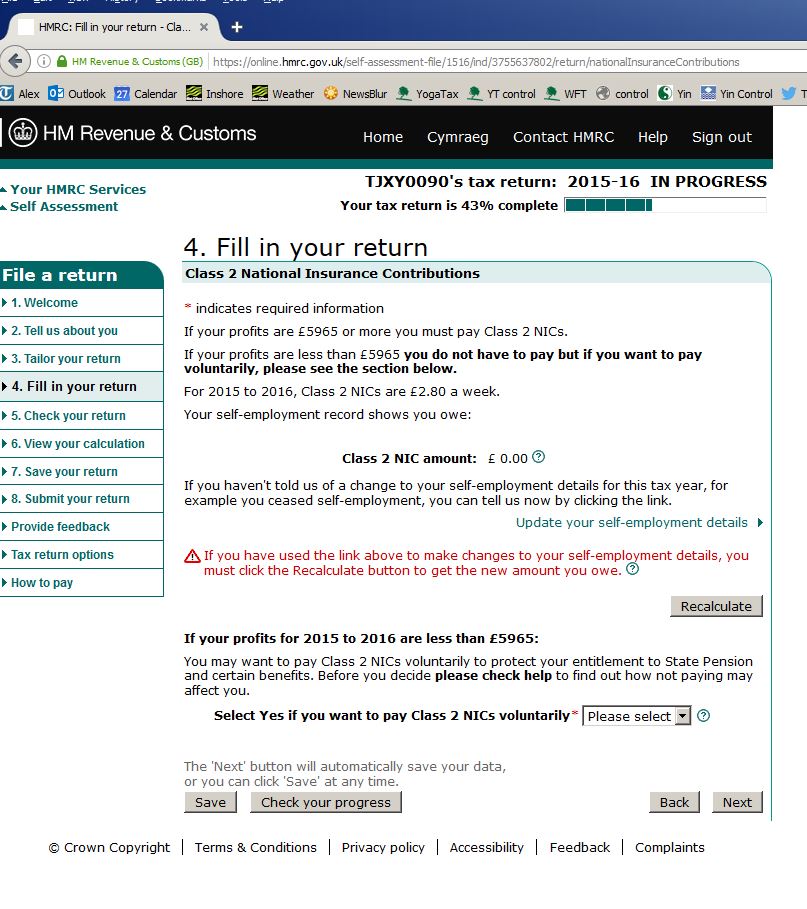
Step 20 – check your Class 2 NI. If you owe Class 2 then the calculation will be automatic.
If your profit is beneath the threshold and you don’t have either (a) a job on which you pay NI or (b) you are in receipt of Child Benefit for a child under 12, then paying voluntary Class 2 may be sensible to protect state pension rights.
This is the end of the Self Employment part of the return.
If you have other income to enter, eg jobs, rent, savings or dividend, then work through the relevant sections of the return if you haven’t already done so.
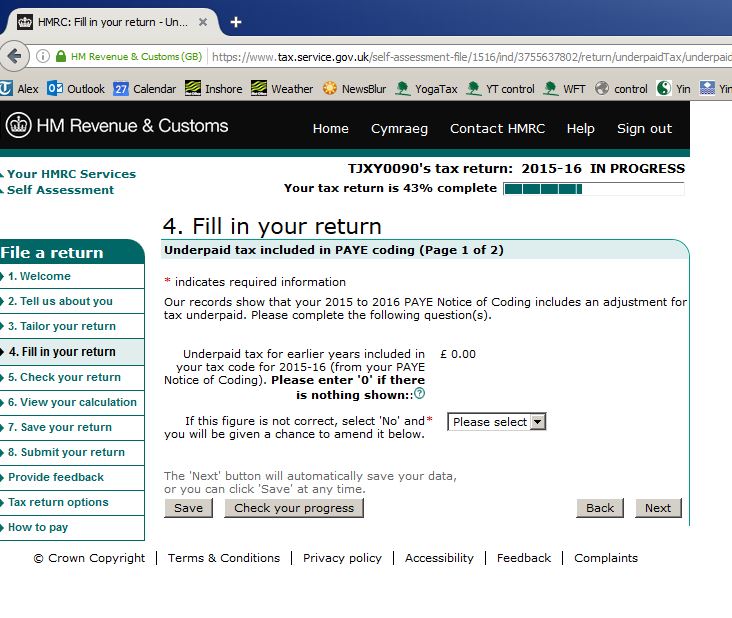
Step 21 – this is probably nil, but if you have a job on which you’ve paid tax then check your tax code.
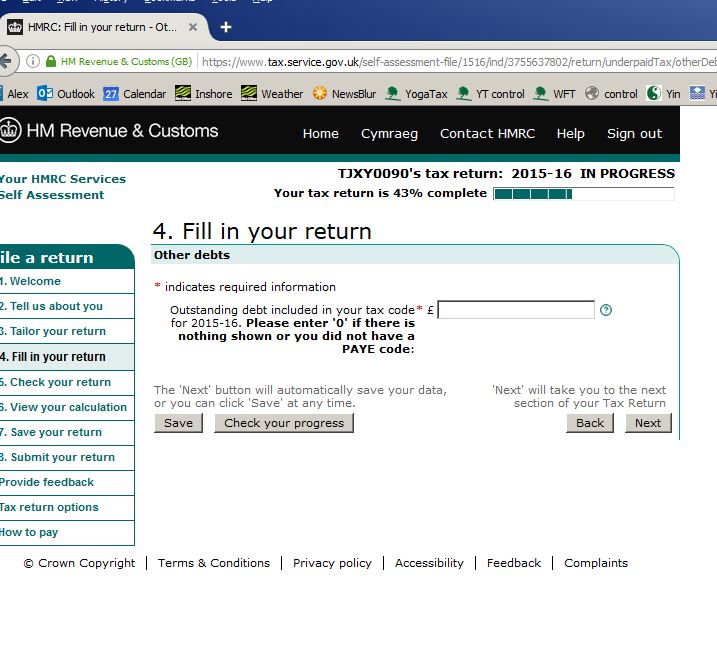
Step 22 – this is probably nil, but if you have a job on which you’ve paid tax then check your tax code.

Step 23 – this is probably nil, but if you have a job on which you’ve paid tax then check your tax code.
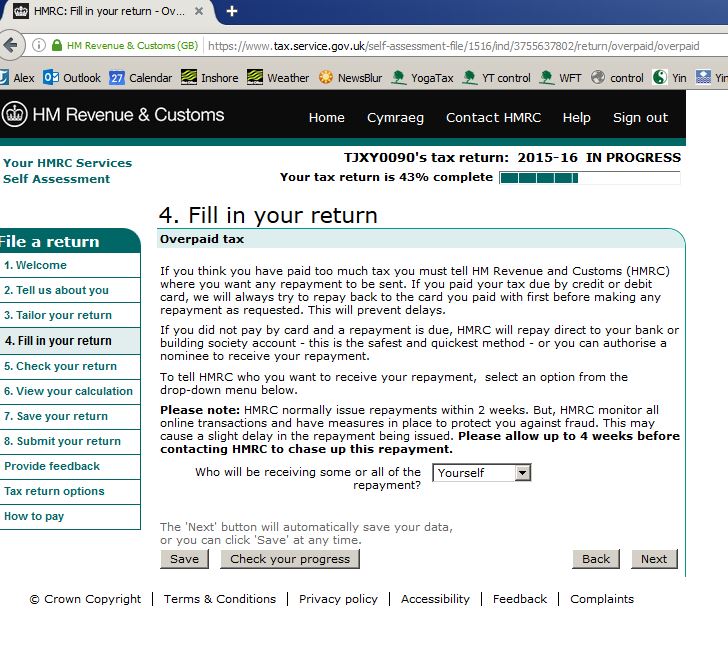
Step 24 – mandate any repayment to come to yourself. On the next screen you will need to enter your bank details (not shown here for security)
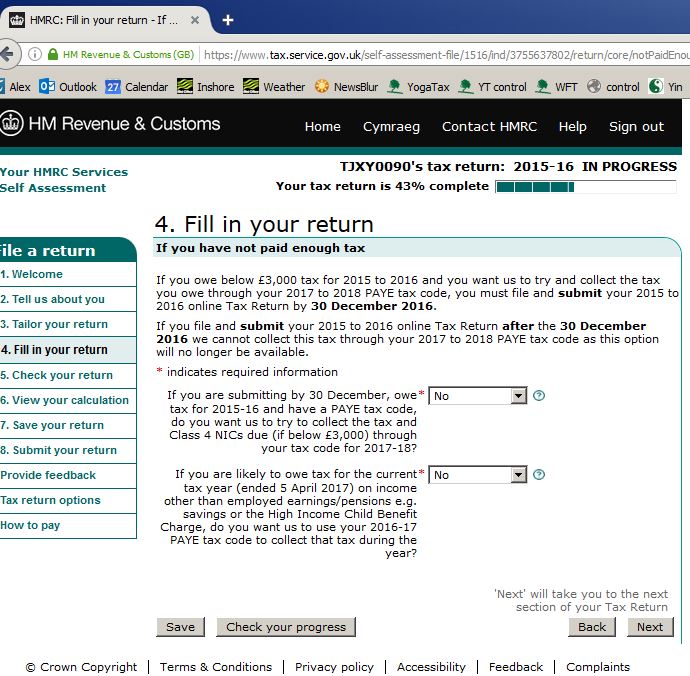
Step 25 – this is only relevant if you have a job on which you pay tax, but its much simpler to say “no”. Tax codes get messy when unpaid tax is adjusted via so called “coding out”. Its easier to keep track if you select “no” here.
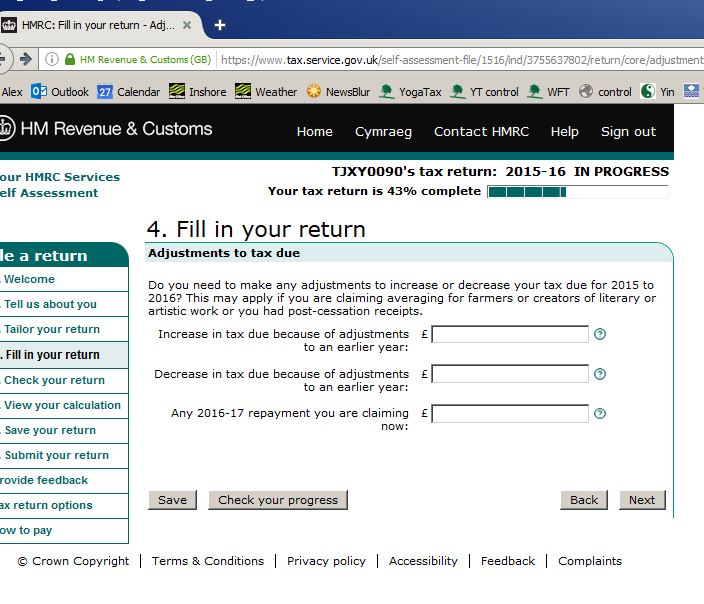
Step 26 – these questions are likely to be “No”
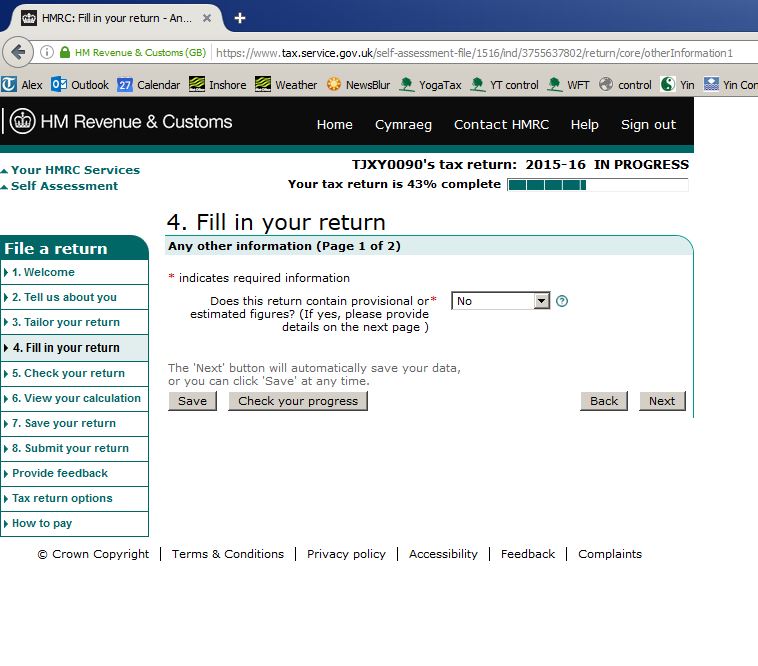
Step 27 – this question is likely to be “no”
Step 28 – enter any notes or other information you wish to give, so called “whitespace”
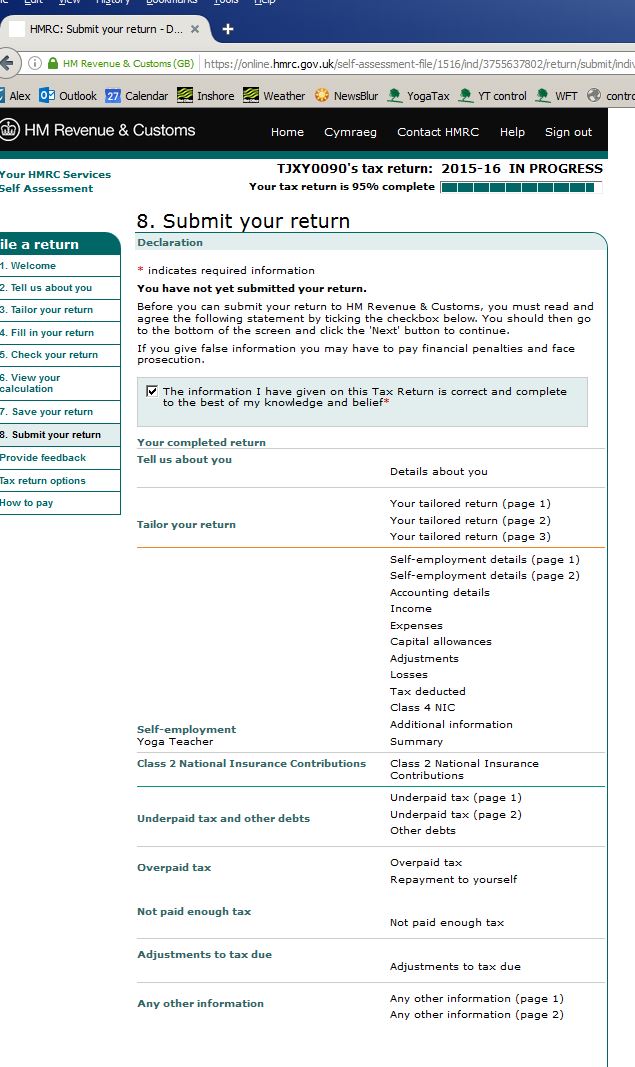
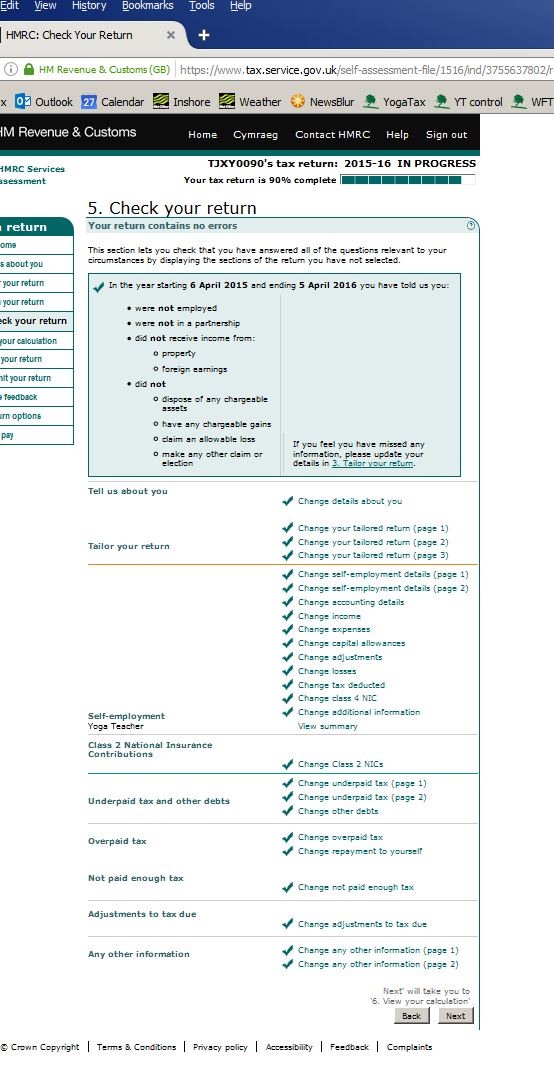
Step 29 – check your return is complete
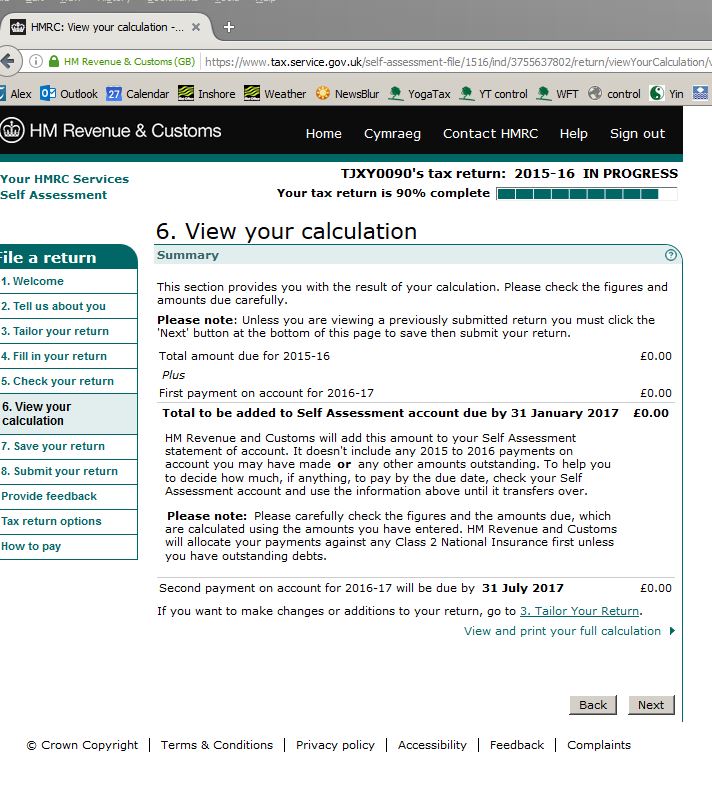
Step 30 – the moment of truth – see how much you have to pay! Its useful to do a rough check to see that the result is what you expected, or to use our calculator to double check.
If you have to make payments on account, these will be shown.
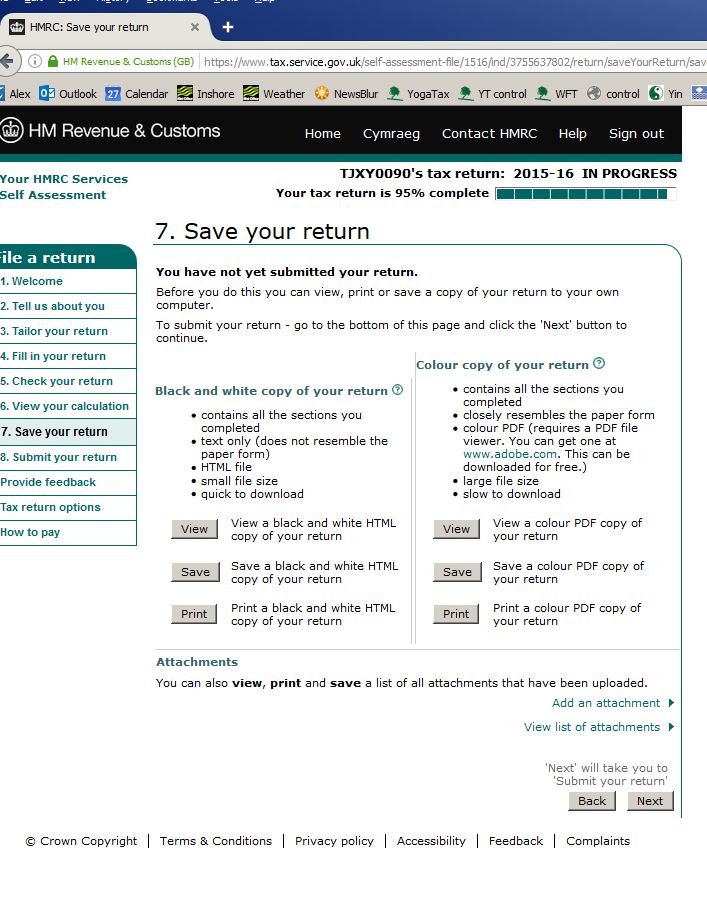
Step 31 – view, print and save (make sure you save a copy on paper or electronically)
Step 32 – tick the box for “correct and complete” and then press submit.
Wait for an onscreen and email confirmation and keep them safe.